2 Simple Ways to Remove the ‘Activate Windows’ Watermark in Windows 10 Permanently
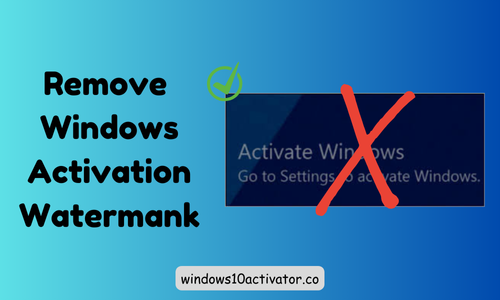
Does the bottom right side of your screen have an annoying watermark that says “Activate Windows; Go to settings to activate Windows,” and it won’t go away? Let me show you Windows 10 users how to remove it.
If you have a Windows license, you can go to settings and activate your Windows using the product key. Still, if you don’t have a license, you can remove this watermark by changing the configuration from the registry editor or using the CMD prompt; here is how to do it.

So let’s get started and get the solution for “How to Remove Activate Windows Watermark Windows 10.”
Note
How to Remove Activate Windows Watermark:
Check out the two quickest and easiest ways to remove the Windows activation watermark.
1: Using Registry Editor
Step 1: Go to the search bar (bottom left of screen) and search “Registry Editor.”
Step 2: Open the “HKEY_LOCAL_MACHINE” folder.
Step 3: Expand the “System” folder.
Step 4: Here click on the “CurrentControlSet” folder and open it.
Step 5: Go to the “Services” folder and expand in this folder.
Step 6: Now find the “svsvc” folder here.
Step 7: After that, right-click on “Start” and then click on “Modify,” So here, you can see “Value data,” which has a default value of “3”. You must remove it, type “4” here, and hit “Ok.”
Step 8: All done. Enjoy
Path: HKEY_LOCAL_MACHINE\SYSTEM\CurrentControlSet\Services\svsvc
Make sure to restart your PC after applying these settings to get results.
2: With CMD
Alright, So this method would be through Command Prompt.
Step 1: Go to the search bar and type “CMD”.
Step 2: Right-click on CMD and choose “Run as administrator.”
Step 3: The black window will appear on your screen, where you have to type the command given below.
Copy & Paste CMD Command: slmgr -rearm
Step 4: After that, Hit Enter!
Step 5: The “Windows Script Host” dialog box will appear. Click on Ok
Step 6: All Done
Must Checkout: How to Speed Up Windows 10 for Better Performance
Conclusion:
Many of us don’t like the sticky Windows activation watermark at the bottom right of our screen. This article discusses two most straightforward ways to remove this pesky watermark. Whether you choose method 1 or 2, it’s up to you. Always restart your PC after applying any of these methods.


